
Look, I’m gonna be real with you. These gingerbread cookies are the ones I make every single year, and my family would probably riot if I tried switching things up. They’ve got this perfect combo of crispy edges and soft, chewy centers that just melt in your mouth. I’ve tried tons of gingerbread cookie recipes over the years (trust me, way too many), and this one wins hands down. You know what I love most? No rolling pin required. No cookie cutters to hunt down in the back of your drawer. Just scoop, roll, bake, and you’re golden. Sometimes I roll them in sugar before baking, other times I drizzle on a simple glaze. Honestly? They’re amazing either way. The smell alone when these are baking will have everyone wandering into your kitchen asking when they’ll be done. That warm, spicy ginger mixed with molasses and cinnamon? Pure magic. Whether you’re making them for a holiday cookie swap or just because it’s Tuesday and you need something sweet, these cookies deliver every time. They stay soft for days too, which means you can bake them ahead without any stress.
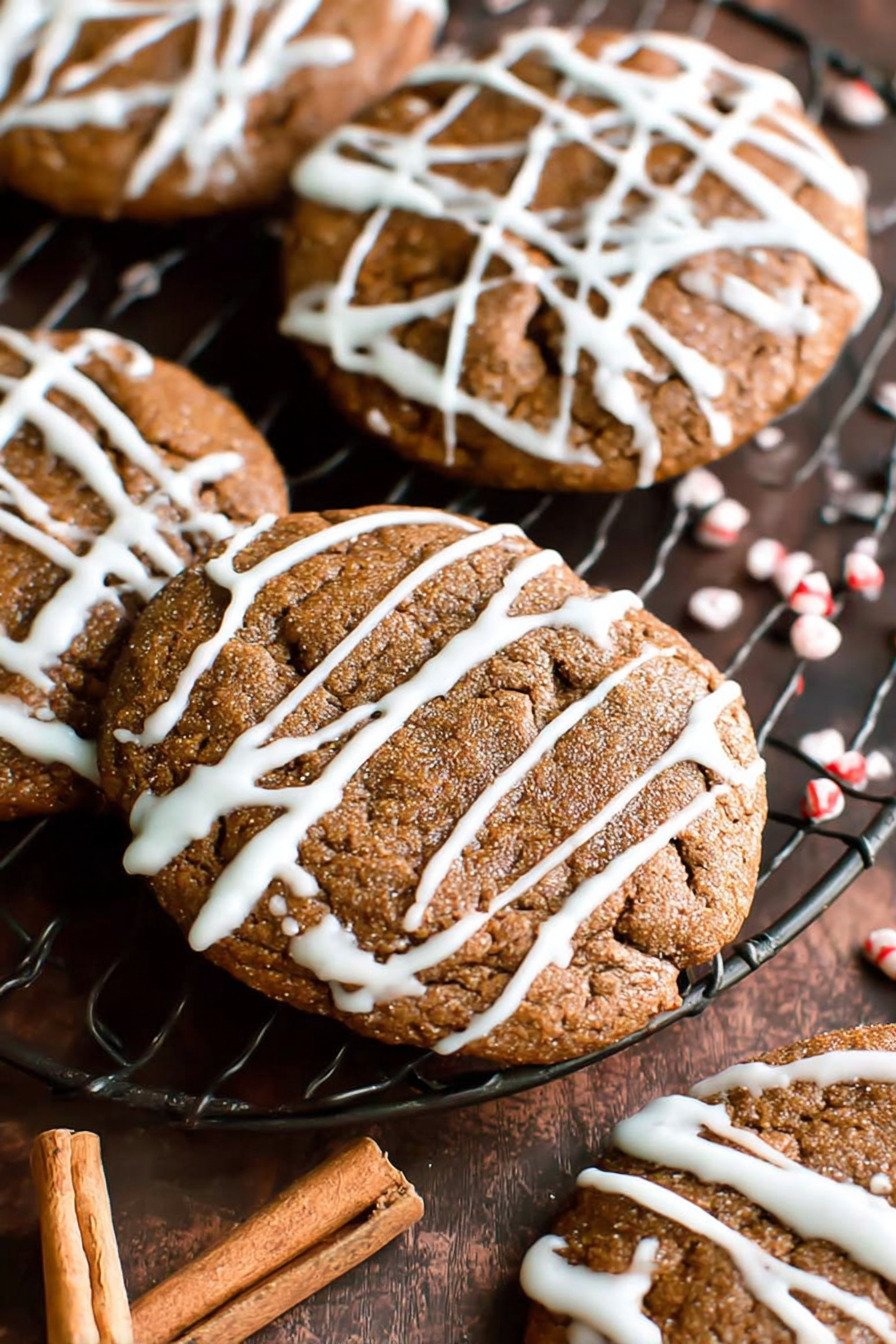
Table of Contents
- 1) Key Takeaways
- 2) Easy Soft Gingerbread Cookies Recipe
- 3) Ingredients for Soft Gingerbread Cookies
- 4) How to Make Soft Gingerbread Cookies
- 5) Tips for Making Soft Gingerbread Cookies
- 6) Making Soft Gingerbread Cookies Ahead of Time
- 7) Storing Leftover Soft Gingerbread Cookies
- 8) Try these Desserts next!
- 9) Soft Gingerbread Cookies Recipe
- 10) Nutrition
1) Key Takeaways
- What makes gingerbread cookies soft and chewy?
- Can you make gingerbread cookies without rolling dough?
- What type of molasses works best for gingerbread cookies?
- How long should gingerbread cookie dough chill?
- Can gingerbread cookies be frozen?
2) Easy Soft Gingerbread Cookies Recipe
I’ll be honest with you. I’ve been making gingerbread cookies for years, and this recipe is the one that finally got my entire family hooked. Every December, my kitchen smells like a gingerbread wonderland, and these soft, chewy cookies are the main reason why.
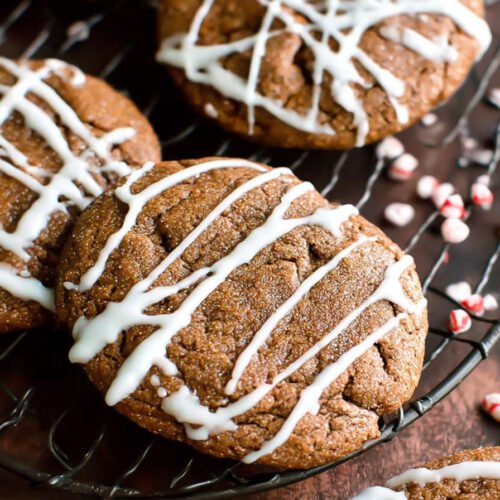
What makes these gingerbread cookies so special? They’ve got this amazing texture that I can’t stop talking about. The edges get slightly crispy (in the best way possible), but the centers stay soft and almost cake-like. You get that perfect chew with every single bite. I’ve tried making the traditional hard gingerbread man cookies recipe before, but nobody in my house was really into them. Too crunchy, not enough of that melt-in-your-mouth feeling we all crave during cookie season.
Here’s what I love most about this recipe. You don’t need cookie cutters. You don’t need a rolling pin. You literally just scoop the dough, roll it into balls, and bake. My kids can help without making a huge flour mess all over the counter. That alone makes this the best gingerbread cookie recipe in my book.
The spice blend is spot on too. I’ve played around with the ginger, cinnamon, and cloves ratio more times than I can count. Some recipes go way too heavy on the ginger and your mouth feels like it’s on fire. Others barely have any spice at all, and you might as well be eating plain sugar cookies. This one hits that sweet spot where you taste every spice, but nothing overpowers the warm molasses flavor.
Can we talk about how forgiving this gingerbread dough recipe is? I’ve made it on rushed weeknights when I’m distracted by homework questions and dinner prep. I’ve made it on lazy Sunday afternoons when I have all the time in the world. It turns out great every single time. The dough is easy to work with once it’s chilled, and it doesn’t spread too much or puff up weird in the oven.
One more thing. These cookies actually taste better the next day. Something about letting the flavors meld overnight makes them even more delicious. I usually bake a double batch because they disappear fast. My husband takes them to work, my kids pack them in their lunch boxes, and I may or may not eat three with my morning coffee. Don’t judge me.
3) Ingredients for Soft Gingerbread Cookies
All-Purpose Flour forms the base of your cookies and gives them structure. I just use regular all-purpose flour from the grocery store. Nothing fancy needed here. If you need to make these gluten-free, grab a good quality all-purpose gluten-free blend that measures cup for cup. I’ve heard great things about Bob’s Red Mill, though I haven’t tried it myself yet.
Baking Soda helps the cookies rise just enough without making them puffy like cake. You want that slightly dense, chewy texture that makes gingerbread cookies so satisfying. Make sure your baking soda is fresh. If it’s been sitting in your pantry since the Obama administration, toss it and get a new box. Old baking soda won’t give you the lift you need.
Ground Cinnamon brings warmth and sweetness to every bite. I use regular grocery store cinnamon, but if you’ve got the fancy stuff from a spice shop, even better. Fresh spices make a noticeable difference in baked goods. If your cinnamon has been in the cabinet for years and smells like nothing, treat yourself to a new jar.
Ground Ginger is what gives these cookies their signature kick. This is where that spicy, warming flavor comes from. Don’t go overboard though. Too much ginger and your cookies taste medicinal instead of delicious. The amount in this recipe is just right for most people, but feel free to dial it back a tiny bit if you’re not a huge ginger fan.
Ground Cloves add depth and that classic gingerbread flavor. A little goes a long way with cloves. They’re strong and pungent, which is exactly what you want, but too much can be overwhelming. The quarter teaspoon in this recipe gives you just enough clove flavor without taking over.
Sea Salt balances all the sweetness and brings out the other flavors. Never skip salt in cookie recipes. I know it seems like a tiny amount, but it makes everything taste better. Regular table salt works fine too if that’s what you have.
Butter makes these cookies rich and tender. I use salted butter most of the time because that’s what I keep in my fridge. If you only have unsalted, that’s totally fine. You can use vegan butter if you need to make these dairy-free, and they still turn out great. Just make sure whatever butter you use is softened to room temperature before you start.
Brown Sugar gives you moisture and that deep, caramel-like sweetness that pairs perfectly with molasses. I use light brown sugar, but dark brown works too and adds even more molasses flavor. Pack it firmly into your measuring cup so you get the right amount. Loose brown sugar measurements will throw off the whole recipe.
Molasses is the star ingredient here. This is what makes gingerbread taste like gingerbread. Get the light or unsulphured kind. Don’t use blackstrap molasses unless you want cookies that taste like bitter medicine. I learned that lesson the hard way. Grandma’s Molasses is my go-to brand, and it’s in pretty much every grocery store.
Egg binds everything together and adds richness. One large egg at room temperature works best. If your eggs are cold from the fridge, just stick them in a bowl of warm water for a few minutes before using them. Room temperature eggs mix into the batter more smoothly.
Pure Vanilla Extract rounds out all the flavors and makes everything taste more delicious. I always use real vanilla extract, not imitation. The difference is noticeable in cookies. You don’t need the expensive vanilla bean paste or anything like that. Just good quality pure vanilla extract from the baking aisle.
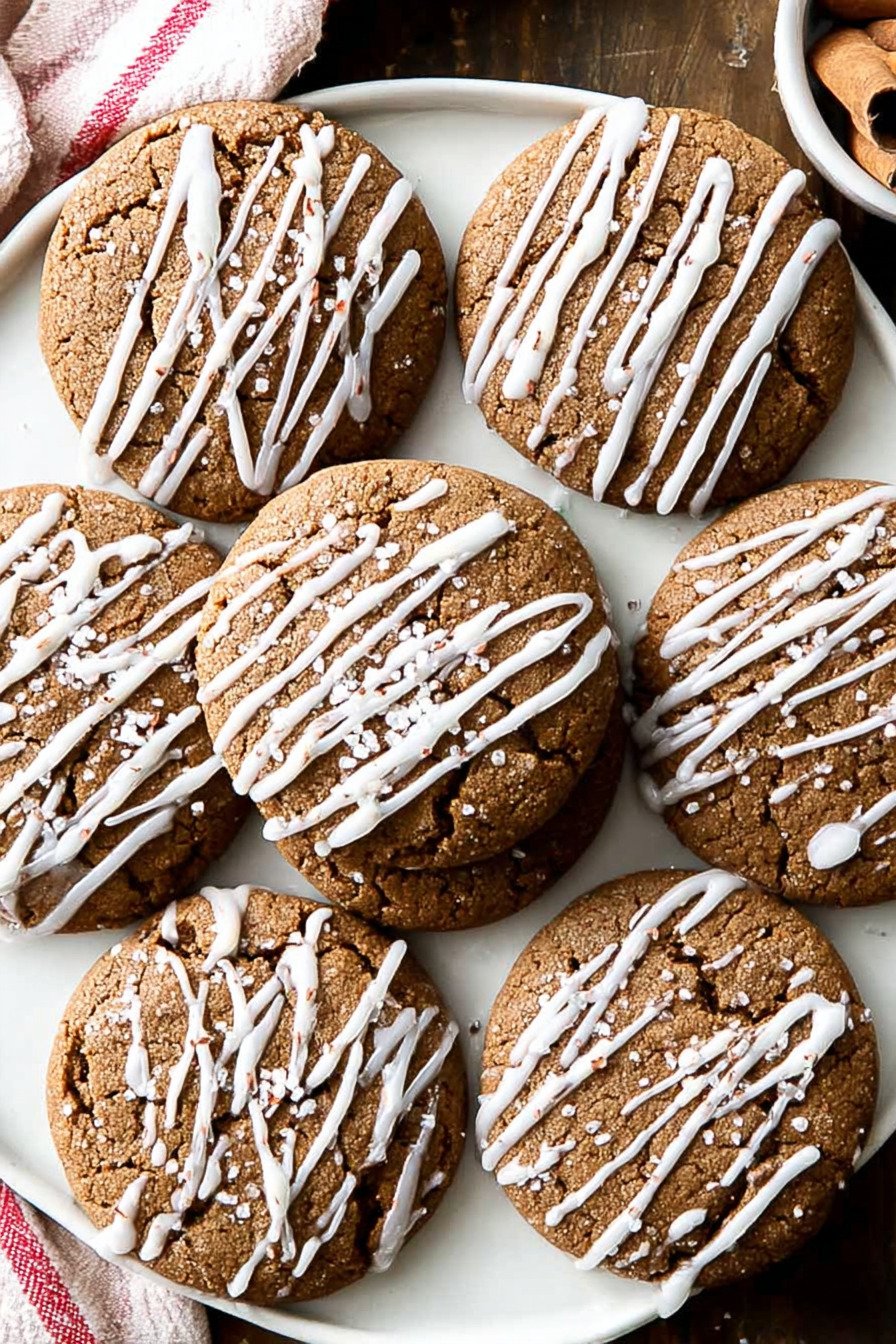
Granulated Sugar for Rolling is totally optional but adds a nice sparkly crust and a bit of extra sweetness. I roll about half my cookies in sugar and leave the other half plain. That way everyone’s happy. You can skip this completely if you want to keep the cookies less sweet.
Powdered Sugar for Glaze makes a simple icing that takes these cookies over the top. I usually make the glaze for special occasions or when I’m giving cookies as gifts. Most of the time, I eat them plain right off the cooling rack. Both ways are delicious.

4) How to Make Soft Gingerbread Cookies
Step 1. Get out a small mixing bowl and whisk together your flour, baking soda, cinnamon, ginger, cloves, and salt. I like to whisk it for about 30 seconds to make sure everything is evenly distributed. This step is quick, but it makes a difference. You want those spices mixed throughout every cookie, not clumped up in random spots. Set this bowl aside for now.
Step 2. Grab your stand mixer or a large bowl and hand mixer. Toss in the softened butter and brown sugar. Beat them together on medium speed for about 1 to 2 minutes. You’re looking for the mixture to get light and fluffy, not just combined. It should look paler in color and have some volume to it. This step adds air to your cookies and makes them tender instead of dense.
Step 3. Add your molasses, egg, and vanilla to the butter mixture. Turn the mixer back on medium speed and beat everything for another 60 to 90 seconds. The mixture might look a little separated or weird at first, but keep beating. It’ll come together into a smooth, glossy mixture. Make sure you scrape down the sides of the bowl at least once so everything gets incorporated.
Step 4. Time to add the dry ingredients. Start your mixer on low speed first. Trust me on this. If you dump in the flour mixture and turn the mixer on high, you’ll have a flour cloud explosion in your kitchen. Mix on low until most of the flour is incorporated and you don’t see any more dry streaks. Then bump up the speed to medium and mix until you have a uniform dough.
Step 5. Scrape the dough into an airtight container or cover your bowl with plastic wrap. Pop it in the fridge for at least 1 hour. This chilling step is not optional. I know it’s tempting to skip it, but don’t. The dough needs time to firm up so the cookies hold their shape when baking. I usually make my dough the night before and let it chill overnight. Makes the whole process so much easier the next day.
Step 6. When you’re ready to bake, preheat your oven to 350 degrees F. Line a baking sheet with parchment paper. Don’t skip the parchment. It keeps the bottoms of your cookies from getting too dark, and cleanup is a breeze. If you don’t have parchment, a silicone baking mat works great too.
Step 7. Use a cookie scoop to portion out your dough. I use a medium cookie scoop that holds about 1.5 to 2 tablespoons of dough. This gives me cookies that are the perfect size, not tiny little bites but not giant monsters either. Roll each portion between your palms to make smooth balls. If the dough is too firm, let it sit at room temperature for 5 minutes to soften up slightly.
Step 8. If you want the sugar coating, pour some granulated sugar into a small bowl. Roll each dough ball in the sugar until it’s completely coated. Place the balls on your prepared baking sheet about 2 inches apart. They’ll spread a little bit, but not too much. You can usually fit about 12 cookies on a standard baking sheet.
Step 9. Slide the baking sheet into your preheated oven and set a timer for 9 minutes. Watch them carefully. You’re looking for the edges to look set and the tops to be just barely puffed. The centers will still look slightly underdone, and that’s exactly what you want. They’ll continue cooking on the hot pan after you take them out. If you bake them until they look completely done in the oven, they’ll be too hard when they cool.
Step 10. Take the cookies out of the oven and let them sit on the baking sheet for 5 full minutes. Don’t rush this step. If you try to move them right away, they’ll fall apart. After 5 minutes, use a spatula to transfer them to a wire cooling rack. Let them cool completely before storing or adding any glaze.
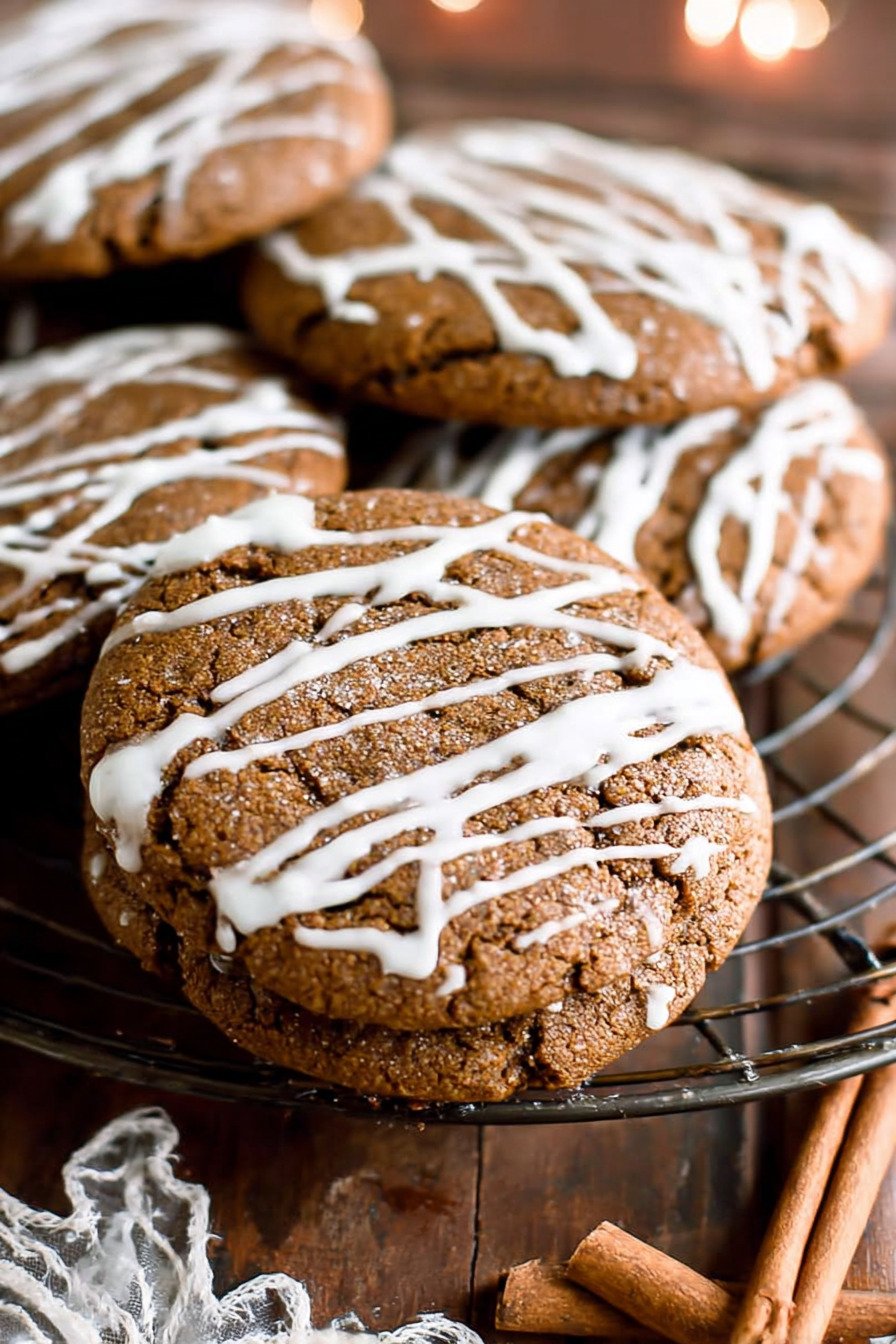
Step 11. If you’re making the simple glaze, whisk together powdered sugar and milk in a small bowl. Start with 1 tablespoon of milk and add more gradually until you get a thick but pourable consistency. Drizzle it over the cooled cookies using a spoon or transfer it to a piping bag for neater lines. Let the glaze set completely before stacking the cookies.
5) Tips for Making Soft Gingerbread Cookies
Don’t skip the chilling time on your dough. I know you’re excited to bake these cookies right away, but warm dough spreads too much in the oven. You’ll end up with flat, crispy cookies instead of the soft, chewy ones you’re after. At minimum, chill the dough for 1 hour. Overnight is even better if you can plan ahead.
Watch your baking time like a hawk. The difference between perfectly soft cookies and hard, overbaked ones is literally 1 or 2 minutes. Set a timer and check them at 9 minutes. If you like them extra soft and almost doughy in the center, take them out at 9 minutes. If you prefer them slightly firmer, go for 10 or 11 minutes max. The cookies will look underdone when you first take them out, but they’ll firm up as they cool.
Use fresh spices for the best flavor. Old spices lose their potency over time. If you can’t remember when you bought your ground ginger or cinnamon, it’s probably time for new ones. Take a sniff of your spices before using them. They should smell strong and aromatic. Weak-smelling spices will give you bland cookies.
Room temperature ingredients mix better and give you a better texture. Cold butter won’t cream properly with the sugar, and cold eggs can make your dough seize up. Take your butter and eggs out of the fridge about 30 minutes before you start baking. If you forget, you can soften butter in the microwave for about 10 seconds, and eggs can sit in warm water for a few minutes.
Measure your flour correctly to avoid dry, tough cookies. The best way is to spoon flour into your measuring cup and level it off with a knife. Don’t scoop directly from the bag or pack it down. That gives you way more flour than the recipe calls for, and your cookies will be dense and dry instead of soft and tender.
Space your cookies properly on the baking sheet. They need room to spread slightly without touching each other. About 2 inches apart works perfectly. If you crowd them, they’ll bake into one giant cookie blob. Not the end of the world, but definitely not what we’re going for here.
Let cookies cool on the pan for the full 5 minutes. I know it’s tempting to grab one right away, but hot cookies are fragile. They need those few minutes to set up and firm slightly. Move them too soon, and they’ll break apart. Trust the process.
6) Making Soft Gingerbread Cookies Ahead of Time
One of my favorite things about this recipe is how well it works for make-ahead baking. Life gets crazy during the holidays, and being able to prep some things in advance is a total lifesaver. You’ve got a few different options depending on how much time you have.
The easiest way to get ahead is to make the dough and keep it in the fridge. Mixed dough stays fresh in an airtight container for up to 3 days. Just pull it out when you’re ready to bake, let it sit at room temperature for about 10 minutes if it’s super firm, then scoop and bake as usual. This method works great if you want to make a batch on Sunday and bake fresh cookies throughout the week.
Want to prep even further ahead? Freeze the dough balls. After scooping and rolling your cookies, place them on a parchment-lined baking sheet and stick the whole thing in the freezer. Once the dough balls are frozen solid (usually takes about 2 hours), transfer them to a freezer bag or airtight container. They’ll keep for up to 2 months. When you want fresh-baked cookies, take out as many as you need, let them thaw at room temperature for about 20 minutes, then bake normally. No need to adjust the baking time.
You can freeze baked cookies too. Let them cool completely, then layer them in an airtight container with parchment paper between each layer. They’ll stay fresh in the freezer for up to 2 months. Thaw them at room temperature for about 30 minutes before eating. They taste just as good as the day you baked them. I wouldn’t recommend freezing cookies with glaze on them though. The glaze can get weird and sticky when it thaws. If you want glazed cookies, freeze them plain and add the glaze after thawing.
Another option is to bake the cookies a day or two before you need them and store them at room temperature. They actually taste better after sitting for a day. The flavors meld together and get richer. Keep them in an airtight container at room temperature, and they’ll stay soft for up to 5 days. Just make sure the container is truly airtight, or they’ll dry out and get hard.
7) Storing Leftover Soft Gingerbread Cookies
Proper storage is key to keeping your cookies soft and delicious. The worst thing you can do is leave them sitting out on a plate uncovered. They’ll dry out and get hard within a day. Nobody wants to eat a rock-hard cookie. Here’s how I keep mine fresh.
Room temperature storage works best for these cookies. Find an airtight container with a tight-fitting lid. I like those plastic containers with the snap-on lids, but a large ziplock bag works in a pinch. Layer your cookies in the container and seal it up tight. They’ll stay soft and chewy for up to 5 days at room temperature. After about 3 days, you might want to add a slice of bread to the container. The cookies will absorb moisture from the bread and stay softer longer. Just toss the bread slice after a day and add a fresh one if needed.
Don’t refrigerate these cookies unless you absolutely have to. The fridge dries them out and makes them lose that soft, tender texture. The only time I’d put them in the fridge is if my kitchen is super hot and humid, or if I’ve added cream cheese frosting or something perishable. Plain cookies or cookies with simple glaze can stay at room temperature.
Freezing is great for long-term storage. Freeze baked cookies in an airtight container or freezer bag for up to 2 months. When you’re ready to eat them, just thaw at room temperature. They come back to life beautifully. Sometimes I’ll warm a frozen cookie in the microwave for about 10 seconds. It tastes like it just came out of the oven.
If you’ve glazed your cookies, make sure the glaze is completely set and hardened before storing them. Otherwise, they’ll stick together and make a mess. Stack them carefully with parchment paper between layers if you’re worried about them sticking. The glaze can soften slightly in storage, but it shouldn’t be a big problem if you let it dry completely first.
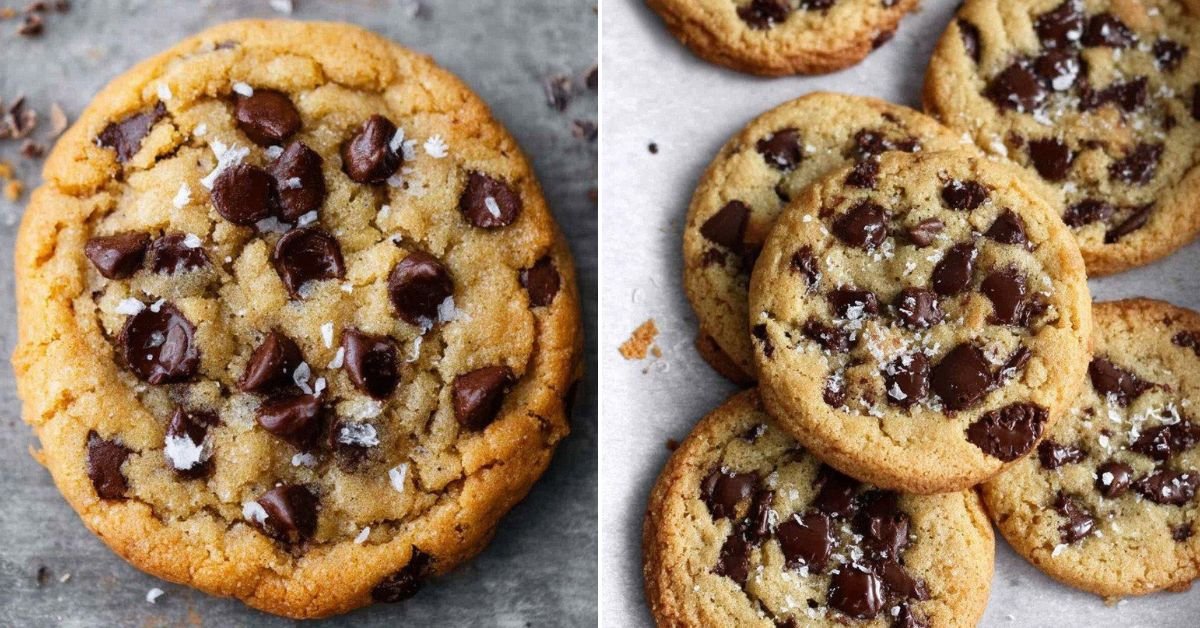
8) Try these Desserts next!


9) Soft Gingerbread Cookies Recipe
Best Gingerbread Cookies Recipe (Soft & Chewy)
Ingredients
- 1 ½ cups all-purpose flour
- 1 teaspoon baking soda
- 1 teaspoon ground cinnamon
- ¾ teaspoon ground ginger
- ¼ teaspoon ground cloves
- ½ teaspoon sea salt
- ½ cup butter, softened
- ¾ cup brown sugar, packed
- 3 tablespoons molasses (use light or unsulphured, not blackstrap)
- 1 large egg, room temperature
- 1 teaspoon pure vanilla extract
- Granulated sugar for rolling (optional)
For Simple Glaze (optional)
- 1 cup powdered sugar
- 1 to 1½ tablespoons milk
Instructions
- Grab a small bowl and whisk together your flour, baking soda, cinnamon, ginger, cloves, and salt. Set that aside for now.
- In your stand mixer (or a large bowl with a hand mixer), beat the butter and brown sugar together for about 1 to 2 minutes. You want it light and fluffy, not just mixed.
- Add in the molasses, egg, and vanilla. Beat for another 60 to 90 seconds until everything looks smooth and well combined.
- Pour in your dry ingredients and mix on low speed at first so flour doesn’t go flying everywhere. Once it’s mostly incorporated, bump up the speed to medium and mix until you’ve got a uniform dough.
- Transfer your dough to an airtight container and pop it in the fridge for at least 1 hour. I usually make mine the night before and let it chill overnight. Makes the whole process so much easier.
- When you’re ready to bake, preheat your oven to 350°F and line a baking sheet with parchment paper.
- Use a cookie scoop (about 1½ to 2 tablespoons worth) to portion out the dough. Roll each portion into a smooth ball with your hands.
- If you want, roll each ball in granulated sugar before placing them on your baking sheet. Space them about 2 inches apart.
- Bake for 9 to 11 minutes. Here’s the key: don’t overbake them. They should look just set around the edges and slightly puffy. They’ll keep cooking on the hot pan after you take them out.
- Let the cookies sit on the baking sheet for 5 minutes before moving them to a wire rack to cool completely.
- If you’re making the glaze, whisk together the powdered sugar and 1 tablespoon of milk. Add more milk gradually (up to another half tablespoon) until you get a thick but drizzly consistency. Drizzle over cooled cookies and let it set before storing.
10) Nutrition
Serving Size: 1 cookie | Calories: 199 | Sugar: 17 g | Sodium: 267 mg | Fat: 8 g | Saturated Fat: 5 g | Carbohydrates: 29 g | Fiber: 1 g | Protein: 2 g | Cholesterol: 34 mg


Leave a Comment