
Homemade bread recipes don’t need to feel intimidating. I used to think making bread at home meant hours of waiting, kneading, and keeping my fingers crossed that the oven wouldn’t betray me. Then I stumbled onto this stovetop bread method, and suddenly baking bread became something I actually looked forward to. It’s warm, soft, and ridiculously satisfying, and the best part? No oven required. Bread recipes homemade don’t need to be complicated. This one is proof. If you’ve got a skillet, some flour, and a little patience, you’ll have fresh bread that smells like a bakery and tastes even better. I’ve made this for friends who swore they’d never bake, and now they’re texting me photos of their bread like proud parents. Homemade bread recipes easy can still feel special. It’s cozy, it’s budget-friendly, and it makes you feel like you’ve got your life together—at least until you eat half the loaf in one sitting. Healthy bread recipes homemade don’t have to be boring, either; you can play around with whole wheat flour, seeds, or herbs. If you’re looking for homemade recipes that taste incredible and make your kitchen smell like heaven, this one’s at the top of the list. Out of all the recipes homemade that I’ve tried, this might just be the Best Homemade Bread for busy, bread-loving humans like us.
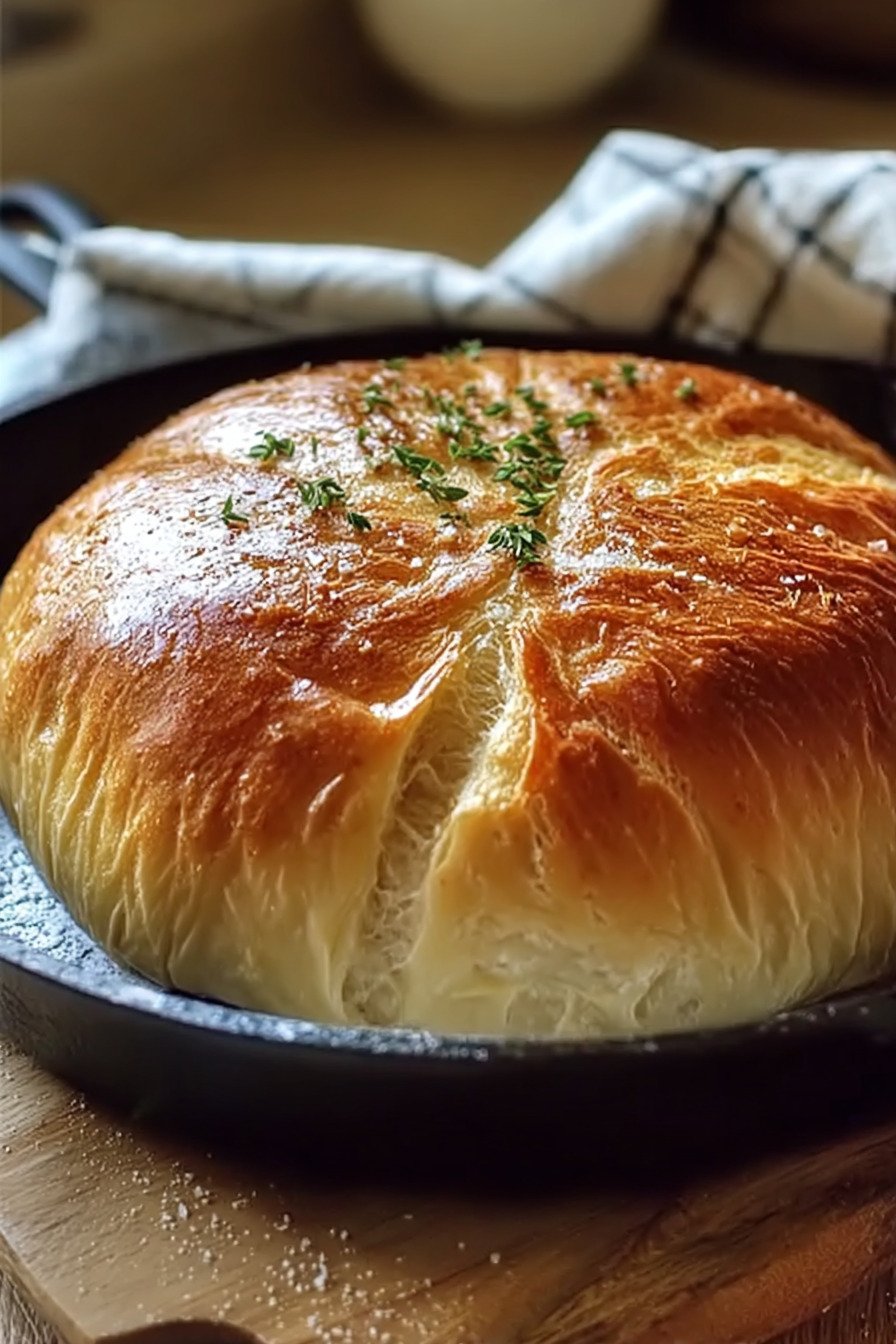
Table of Contents
- 1) Key Takeaways
- 2) Easy No-Oven Stovetop Bread Recipe
- 3) Ingredients for No-Oven Stovetop Bread
- 4) How to Make No-Oven Stovetop Bread
- 5) Tips for Making No-Oven Stovetop Bread
- 6) Making No-Oven Stovetop Bread Ahead of Time
- 7) Storing Leftover No-Oven Stovetop Bread
- 8) Try these Bread recipes next!
- 9) No-Oven Stovetop Bread
- 10) Nutrition
1) Key Takeaways
- This bread recipe uses only a skillet and a lid. No oven needed.
- The dough is simple with pantry staples and water.
- The texture turns out soft inside with a golden crisp surface.
- The recipe can be adapted with whole wheat flour or herbs.
2) Easy No-Oven Stovetop Bread Recipe
Homemade bread recipes can feel overwhelming when you picture ovens running hot for hours. With this method, you skip all of that. I remember the first time I made it. I kept lifting the lid to peek, expecting disaster. Instead, I ended up with warm bread that tasted like it came straight from a bakery. I almost laughed at myself for waiting years to try this. Twice in that first week, I cooked it again, and each time the smell pulled everyone to the kitchen before the bread cooled.
Bread recipes homemade like this show how simple things often win. You take flour, yeast, water, and salt, and you give them a little patience. You don’t need an oven to feel proud of a loaf. You need only a skillet and the courage to try something new. It’s the kind of recipe you’ll reach for again and again. That’s why I call it one of the best homemade bread recipes for real life.
If you’re busy or if your oven breaks, this is your backup plan and your comfort food rolled into one. You’ll taste the effort in every bite. You’ll feel like you’ve pulled off something rare, even though the steps stay easy. That balance makes it a keeper.
3) Ingredients for No-Oven Stovetop Bread
All-Purpose Flour: The base for the dough. It keeps the bread light and soft. You can swap part of it with whole wheat for a deeper flavor.
Active Dry Yeast: This brings the dough to life. When mixed with warm water and sugar, it foams and gives the bread that classic rise.
Sugar: A spoonful helps the yeast grow. It also adds a mild sweetness in the background without turning the bread into dessert.
Salt: Just a teaspoon balances flavors. Bread without salt tastes flat. Salt makes everything brighter and keeps the yeast in check.
Warm Water: The right temperature wakes up the yeast. If it feels like a warm bath for your finger, it’s perfect.
Olive Oil: A touch of oil makes the dough smooth and flexible. It keeps the bread from drying out while it cooks on the stovetop.

4) How to Make No-Oven Stovetop Bread
Step 1. Mix the warm water, sugar, and yeast in a bowl. Wait for it to foam. This takes about ten minutes. The smell reminds you that bread is on its way.
Step 2. Add the flour, salt, and olive oil. Stir until it comes together as a dough. It feels rough at first, then smoother with each turn.
Step 3. Knead the dough on a floured counter for around ten minutes. Your hands push and fold. The dough stretches back, almost like it’s breathing.
Step 4. Cover the dough and leave it in a warm corner for an hour. It grows twice its size, light and airy, ready for the skillet.
Step 5. Punch the dough down gently and divide it. Shape into balls. Each will flatten and rise again during cooking.
Step 6. Heat a skillet on medium-low. Place a dough ball inside, cover with a lid, and wait ten minutes. The surface turns golden, the smell fills the room.
Step 7. Flip and cook the other side for another ten minutes. The crust deepens, the inside stays soft.
Step 8. Let the bread rest for a few minutes before slicing. That first cut shows steam rising, and you’ll want to taste it right away.

5) Tips for Making No-Oven Stovetop Bread
Keep the water warm, not hot. If it’s too hot, the yeast dies and the bread never rises. Think of it like baby bath water—comfortable but not burning.
Use a heavy skillet with a good lid. Thin pans burn the surface before the middle cooks. Cast iron works best, but non-stick does fine too. The lid traps steam and helps the bread rise fluffy instead of dense.
Don’t rush the rise. It feels slow, but patience gives you bread with real structure. If your kitchen is cool, tuck the bowl near the stove or wrap it in a towel.
6) Making No-Oven Stovetop Bread Ahead of Time
This dough is friendly with time. You can mix it, knead it, and let it rise in the fridge overnight. In the morning, it’s ready to shape and cook. The slower rise deepens the flavor, almost like sourdough without the starter.
If you plan a busy day, prepare the dough early and store it cold. By dinner, you’ll cook it in minutes. Your kitchen fills with the smell of fresh bread right when you need it most. It feels like a small victory.
Sometimes I freeze the cooked loaves too. They thaw quickly and taste close to fresh when warmed. A little butter brushed on top helps bring them back to life.
7) Storing Leftover No-Oven Stovetop Bread
Leftovers keep well if you store them right. Wrap the bread in a clean towel and place it in an airtight container. It stays soft for two days on the counter. For longer, keep it in the fridge for up to five days.
You can freeze bread for a month or two. Slice before freezing so you can pull out just what you need. Toasting brings back the texture and warmth. I often toast a slice in the morning with eggs or butter, and it feels almost fresh.
If the bread turns a little dry, brush it with water and warm it in a skillet. The heat and steam restore the softness. It’s a simple fix that saves every loaf.
8) Try these Bread recipes next!
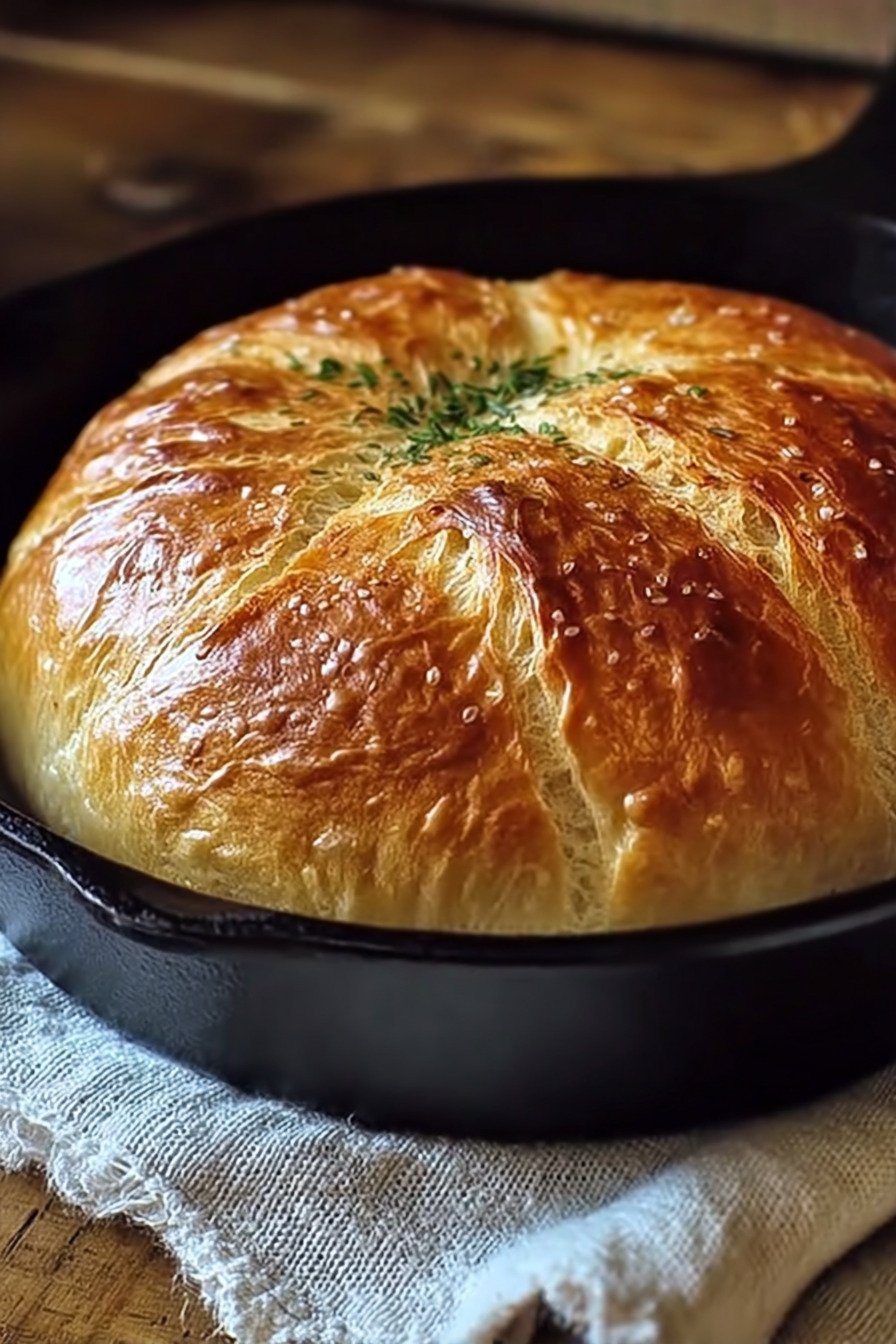
9) No-Oven Stovetop Bread
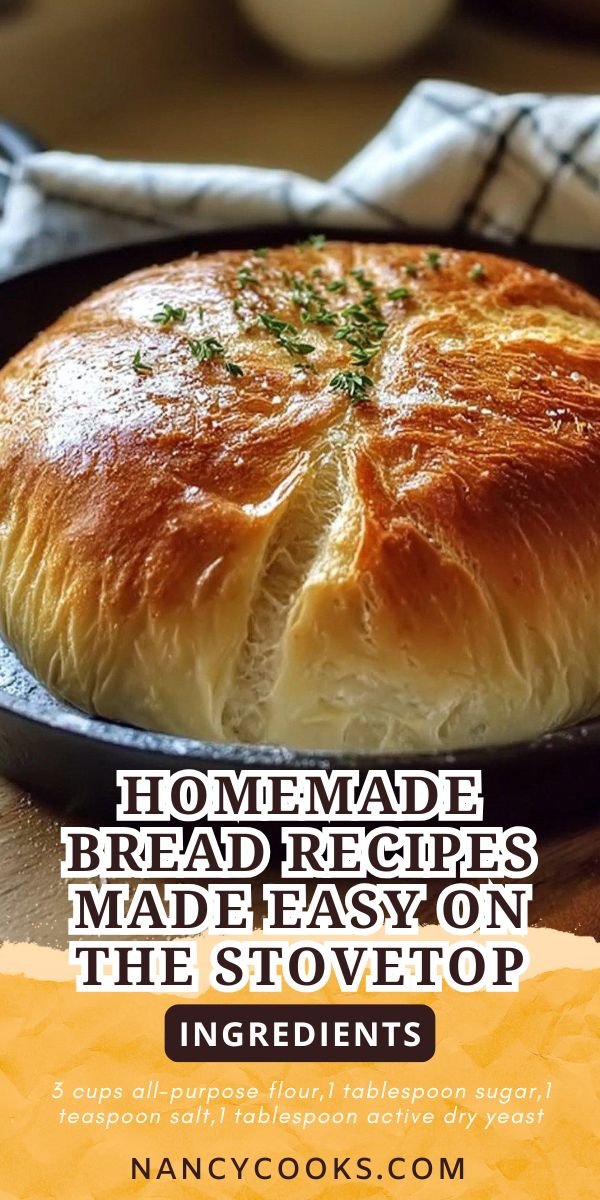
Homemade Bread Recipes Made Easy On The Stovetop
Ingredients
- 3 cups all-purpose flour
- 1 tablespoon sugar
- 1 teaspoon salt
- 1 tablespoon active dry yeast
- 1 cup warm water
- 2 tablespoons olive oil
Instructions
- In a bowl, mix the warm water, sugar, and yeast. Let it sit until foamy, about 10 minutes.
- Add the flour, salt, and olive oil to the yeast mixture. Stir until a dough forms.
- Knead the dough on a floured surface for about 8 to 10 minutes until smooth and elastic.
- Cover and let the dough rise in a warm place for 1 hour or until doubled in size.
- Punch down the dough and divide into portions. Shape each portion into a ball.
- Heat a large non-stick skillet over medium-low heat. Place the dough ball inside, cover with a lid, and cook for 10 minutes.
- Flip and cook the other side for another 10 minutes until golden and cooked through.
- Cool slightly before slicing and serving.
10) Nutrition
Serving Size: 1/6 loaf | Calories: 210 | Carbohydrates: 42g | Protein: 6g | Fat: 3g | Fiber: 2g | Sugar: 2g | Sodium: 300mg


Leave a Comment