
If you’ve ever craved comfort food that doesn’t weigh you down, let me introduce you to my Japanese Katsu Bowls. I like to think of them as a little hug in a bowl, with crispy chicken, fluffy rice, and that sweet-savory katsu sauce that has me licking the spoon more often than I’d like to admit. I promise, no judgment here. Making these bowls at home reminds me of why I fell in love with cooking in the first place. The crunch when you cut into the katsu chicken is the stuff dreams are made of, and pairing it with rice and fresh toppings feels like a dinner date right in your own kitchen. Plus, there’s something deeply satisfying about saying, ‘Yeah, I made that.’ Homemade dinner recipes don’t get much better than this. And here’s the thing: while katsu might sound fancy, it’s surprisingly easy. With a few pantry staples, a simple fry, and a drizzle of my favorite katsu sauce recipe Hawaiian-style, you’ll have a dish that could pass as one of those authentic Japanese recipes we all daydream about. Honestly, recipes at home rarely come together so quickly and feel so special. This japanese bowls recipe is perfect for dinner date recipes at home, a cozy solo night, or just a way to break the routine with something delicious and a little different.
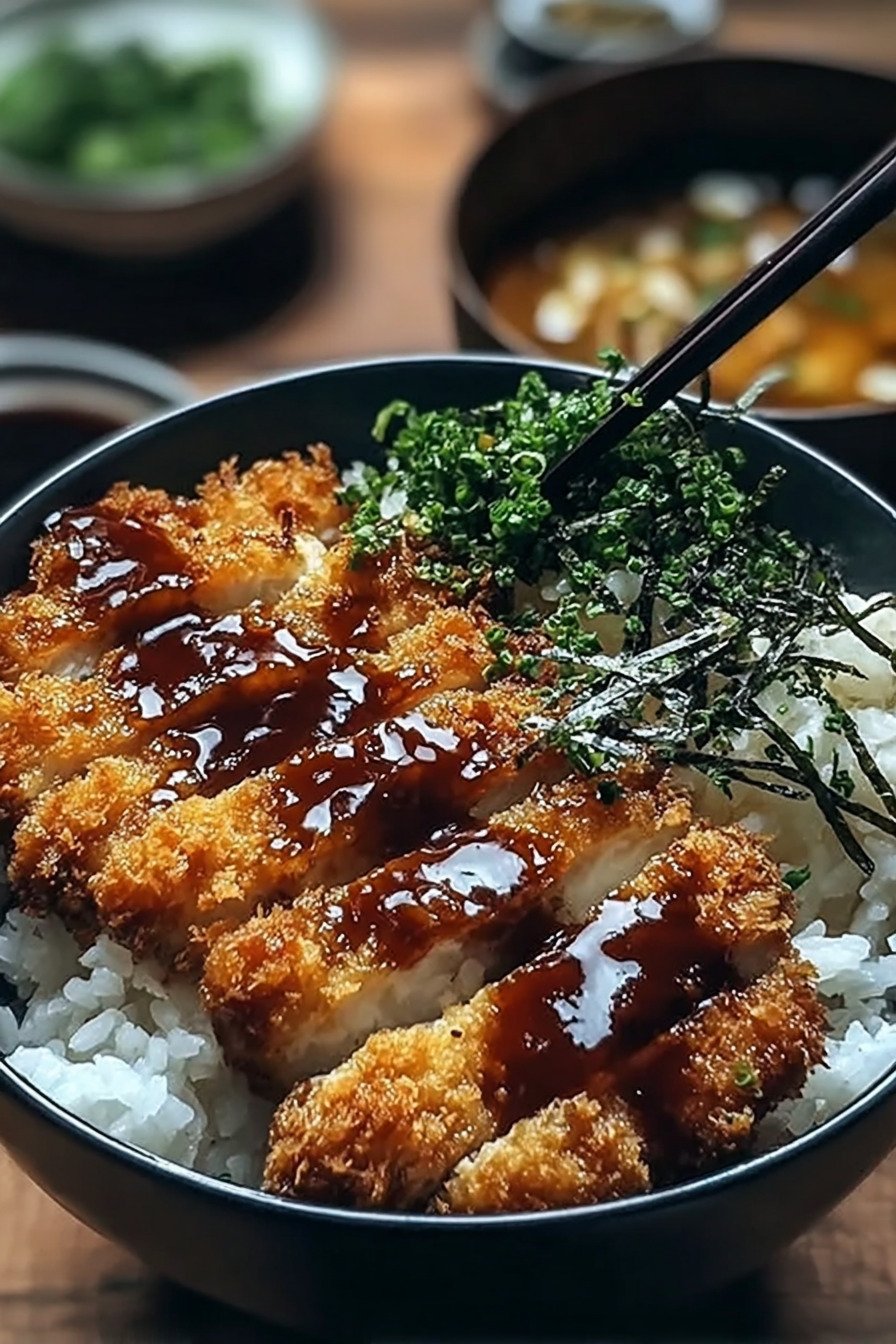
Table of Contents
- 1) Key Takeaways
- 2) Easy Japanese Katsu Bowls Recipe
- 3) Ingredients for Japanese Katsu Bowls
- 4) How to Make Japanese Katsu Bowls
- 5) Tips for Making Japanese Katsu Bowls
- 6) Making Japanese Katsu Bowls Ahead of Time
- 7) Storing Leftover Japanese Katsu Bowls
- 8) Try these Main Course next!
- 9) Japanese Katsu Bowls
- 10) Nutrition
1) Key Takeaways
- Crispy panko chicken brings flavor and texture to every bite.
- Katsu sauce with Hawaiian influence adds sweet and tangy depth.
- Rice, cabbage, and toppings balance the richness of fried chicken.
- This recipe is perfect for homemade dinner recipes and date nights at home.
2) Easy Japanese Katsu Bowls Recipe
I like recipes that don’t just fill the belly but also make the kitchen smell alive. Japanese Katsu Bowls do that for me every single time. The crunch of the chicken skin after frying, the way the steam rises off fresh rice, and the aroma of sweet katsu sauce remind me of my first time trying an authentic Japanese recipe in a small Tokyo café. It was messy and loud and unforgettable.
Homemade dinner recipes can sometimes feel intimidating, but this one isn’t. With a few steps and ingredients that most of us already keep in the pantry, you can put together a bowl that feels both comforting and special. When I make it, I like to imagine I’m preparing dinner date recipes at home, even when it’s just me and the dog waiting by the counter hoping for crumbs.
The bowl feels balanced. You get the crispy katsu chicken recipe on top, fluffy rice underneath, and crunchy cabbage for contrast. Then comes the drizzle of katsu sauce recipe Hawaiian-style, sticky and sweet, clinging to each bite. It turns into more than just a meal. It feels like an experience worth repeating. And that’s exactly why it’s become one of my favorite japanese bowls recipe choices when I want something quick but meaningful.

3) Ingredients for Japanese Katsu Bowls
Chicken Breasts: Boneless and skinless chicken breasts create the base of the katsu. Pound them lightly so they cook evenly, giving you that tender inside beneath the crunchy coating.
Panko Breadcrumbs: These are the secret behind the signature crisp. Unlike traditional breadcrumbs, panko keeps things airy and light, producing that satisfying crunch when you bite down.
Eggs: Beaten eggs help the panko stick to the chicken. Without them, the coating slides right off and leaves you with a sad, uneven crust.
Flour: A light dredge of flour creates a sticky surface for the eggs to cling to. Think of it as the unsung hero of this recipe.
Salt and Pepper: Season both sides generously. Skipping this step leaves the chicken tasting flat and dull.
Vegetable Oil: Frying oil that keeps the flavor neutral but still cooks the chicken evenly with golden color.
Rice: Fluffy white rice becomes the bed for everything. Each spoonful blends soft grains with crunchy chicken for contrast.
Shredded Cabbage: Crisp cabbage balances the richness of fried chicken. It also gives the bowl freshness and a little bite.
Green Onions: A sprinkle of sliced onions brings sharpness and a touch of color on top.
Katsu Sauce: Sweet and tangy, this katsu sauce recipe Hawaiian twist turns everything into comfort food perfection.
4) How to Make Japanese Katsu Bowls
Step 1. Lightly pound the chicken breasts until even in thickness. This helps the meat cook quickly without drying out.
Step 2. Season both sides with salt and pepper. Coat each piece in flour, then dip in beaten eggs, and finally cover with panko breadcrumbs.
Step 3. Heat vegetable oil in a pan over medium heat. Fry each chicken breast for about four minutes on each side until golden and fully cooked.
Step 4. Transfer fried chicken to a plate lined with paper towels. This drains the extra oil and keeps the coating crisp.
Step 5. Slice the chicken into strips once cooled slightly. It should reveal juicy meat inside with a crunchy outer layer.
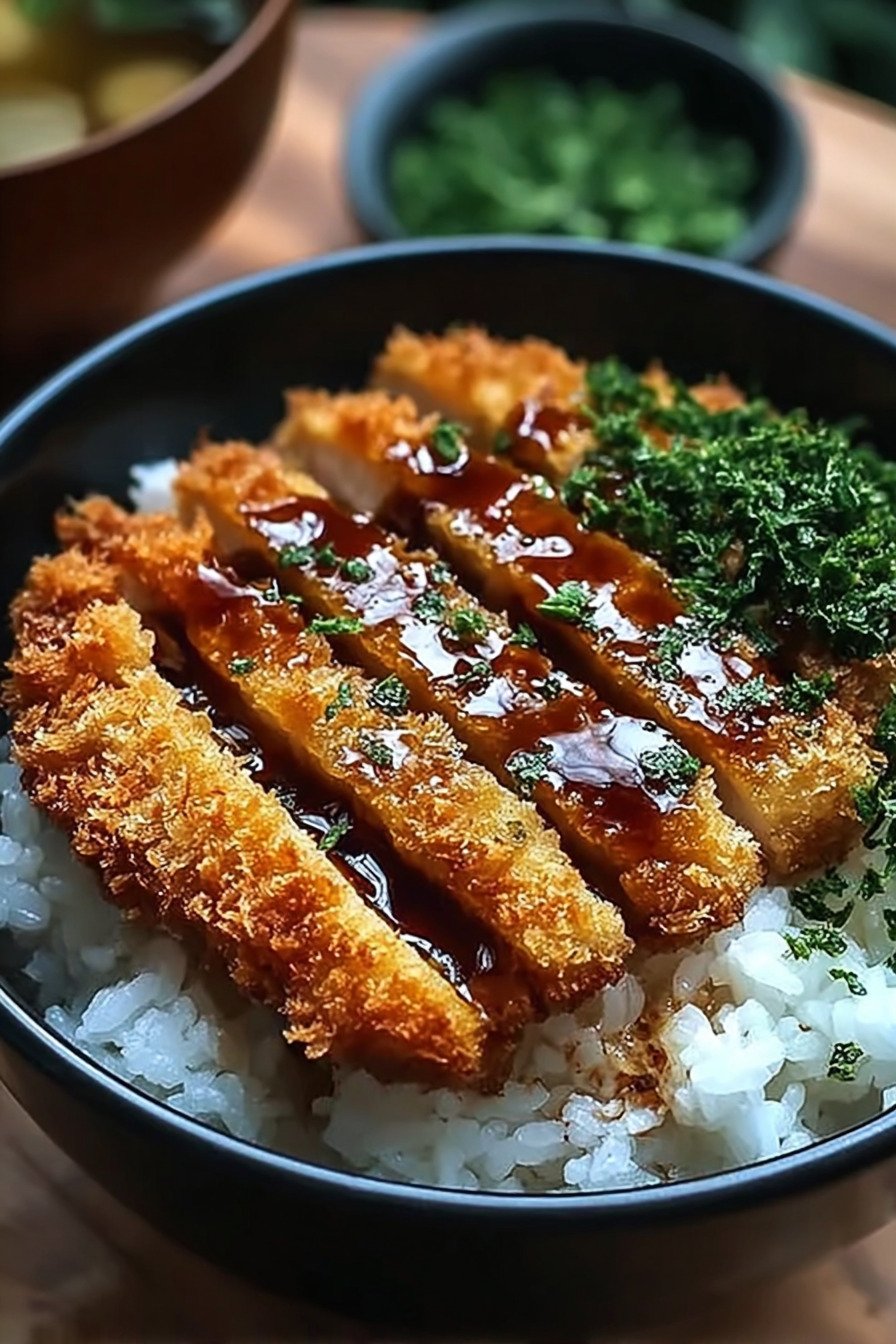
Step 6. Assemble bowls with rice at the bottom, cabbage on top, followed by the sliced chicken.
Step 7. Finish with green onions and a drizzle of katsu sauce. Serve warm while the chicken is still crisp.

5) Tips for Making Japanese Katsu Bowls
Use fresh panko for the crunchiest texture. If the breadcrumbs feel stale, they won’t crisp the way they should. I’ve made that mistake more than once and it always leaves me disappointed.
Don’t overcrowd the pan when frying. Fry in batches so the chicken cooks evenly and stays crunchy. I’ve crowded them before and ended up with soggy coating, which nobody wants.
Pair with fresh toppings. Green onions, pickled radish, or even a fried egg on top can change the feel of the bowl and keep it exciting each time you make it.
6) Making Japanese Katsu Bowls Ahead of Time
I’ve tried making these ahead, and they hold up well with a few tricks. Fry the chicken, cool it completely, then store it in an airtight container in the fridge. Keep the rice and toppings separate until ready to serve.
When reheating, I pop the chicken in the oven or air fryer so it stays crisp. Microwaving turns it soft, which ruins the best part. The rice reheats quickly in the microwave, though, so I handle that separately.
The sauce can be made days in advance. Just keep it in a jar in the fridge. When dinner time rolls around, assemble everything fresh and you’ll still get that same satisfying crunch and flavor.
7) Storing Leftover Japanese Katsu Bowls
Leftovers taste great if stored properly. Place the chicken in a container lined with a paper towel to absorb moisture. Keep the rice and vegetables in separate containers to prevent everything from blending together.
They last for up to three days in the fridge. To revive the chicken, use an oven or air fryer instead of the microwave. This way, you keep the crispy texture without drying out the meat.
I find that the sauce thickens a little after chilling, so I stir in a splash of water before serving again. It works like a charm and brings the dish back to life.
8) Try these Main Course next!
9) Japanese Katsu Bowls

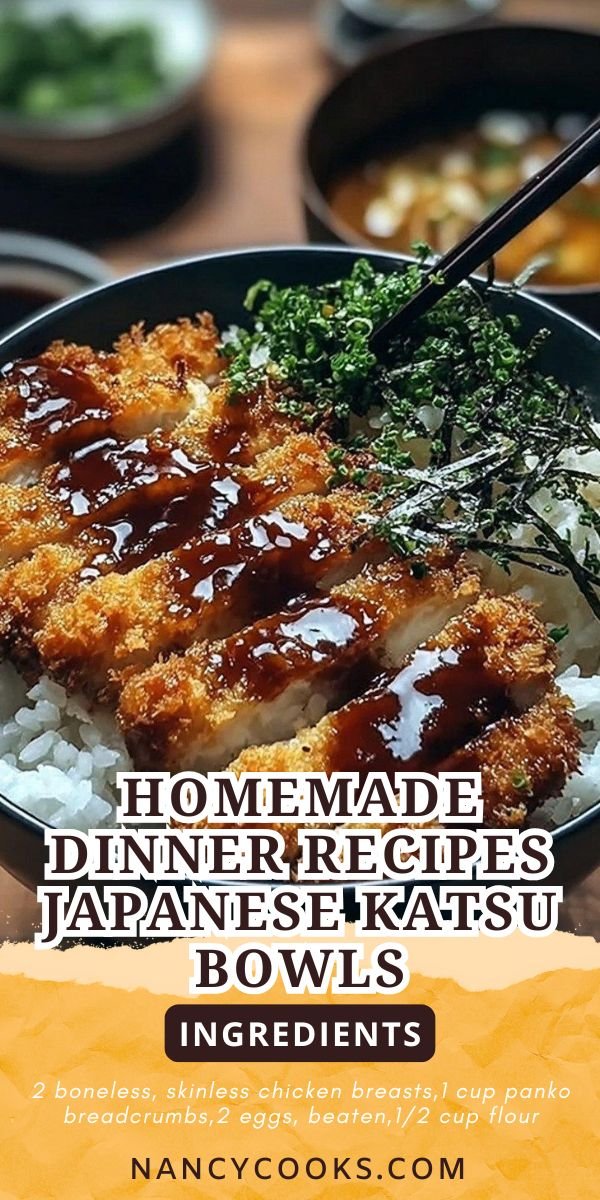
Homemade Dinner Recipes Japanese Katsu Bowls
Ingredients
- 2 boneless, skinless chicken breasts
- 1 cup panko breadcrumbs
- 2 eggs, beaten
- 1/2 cup flour
- 1/2 teaspoon salt
- 1/2 teaspoon black pepper
- Vegetable oil for frying
- 2 cups cooked white rice
- 1 cup shredded cabbage
- 2 green onions, sliced
- 1/4 cup katsu sauce
Instructions
- Pound the chicken breasts lightly until even in thickness.
- Season both sides with salt and pepper.
- Dredge each breast in flour, dip into the beaten eggs, then coat generously with panko breadcrumbs.
- Heat vegetable oil in a skillet over medium heat. Fry the chicken until golden and cooked through, about 4 minutes per side.
- Transfer to a paper towel-lined plate to drain excess oil.
- Slice the chicken into strips.
- Assemble your bowls: add rice, shredded cabbage, sliced chicken, green onions, and drizzle with katsu sauce.
- Serve immediately while warm and crispy.
10) Nutrition
Serving Size: 1 bowl | Calories: 612 | Protein: 34 g | Fat: 21 g | Carbohydrates: 68 g | Fiber: 3 g | Sodium: 745 mg
Recipe by Nancy from Nancy Cooks.


Leave a Comment