
Look, I’m not gonna lie to you. This no-bake cheese cake recipe might just ruin regular cheesecake for you forever. We’re talking about that melt-in-your-mouth, silky smooth texture that makes you close your eyes and do a little happy dance. The best part? You won’t break a sweat making it. I stumbled onto this recipe when my oven decided to quit on me right before a dinner party. Talk about bad timing! But here’s the thing – this turned out even better than my usual baked version. It’s become my go-to for 2 Ingredient Desserts when I’m feeling lazy, fits perfectly into my Almond Flour Desserts rotation, and honestly works as a fantastic 6 inch cheesecake recipe if you just halve everything. This beauty belongs in the No-Bake Desserts hall of fame. It’s one of those Keto Desserts that actually tastes like a real dessert, not like you’re eating cardboard. And if you’re hunting for Low Carb Cheesecake Recipes that won’t kick you out of ketosis, well, you just hit the jackpot. Trust me on this one.

Table of Contents
- 1) Key Takeaways
- 2) Easy No-Bake Keto Cheesecake Recipe
- 3) Ingredients for No-Bake Keto Cheesecake
- 4) How to Make No-Bake Keto Cheesecake
- 5) Tips for Making No-Bake Keto Cheesecake
- 6) Making No-Bake Keto Cheesecake Ahead of Time
- 7) Storing Leftover No-Bake Keto Cheesecake
- 8) Try these Desserts next!
- 9) No-Bake Keto Cheesecake
- 10) Nutrition
1) Key Takeaways
- Can you make cheesecake without baking it?
- What makes a no-bake cheesecake set properly?
- How long does no-bake cheesecake need to chill?
- Is no-bake cheesecake keto-friendly?
- What’s the secret to a smooth, creamy filling?
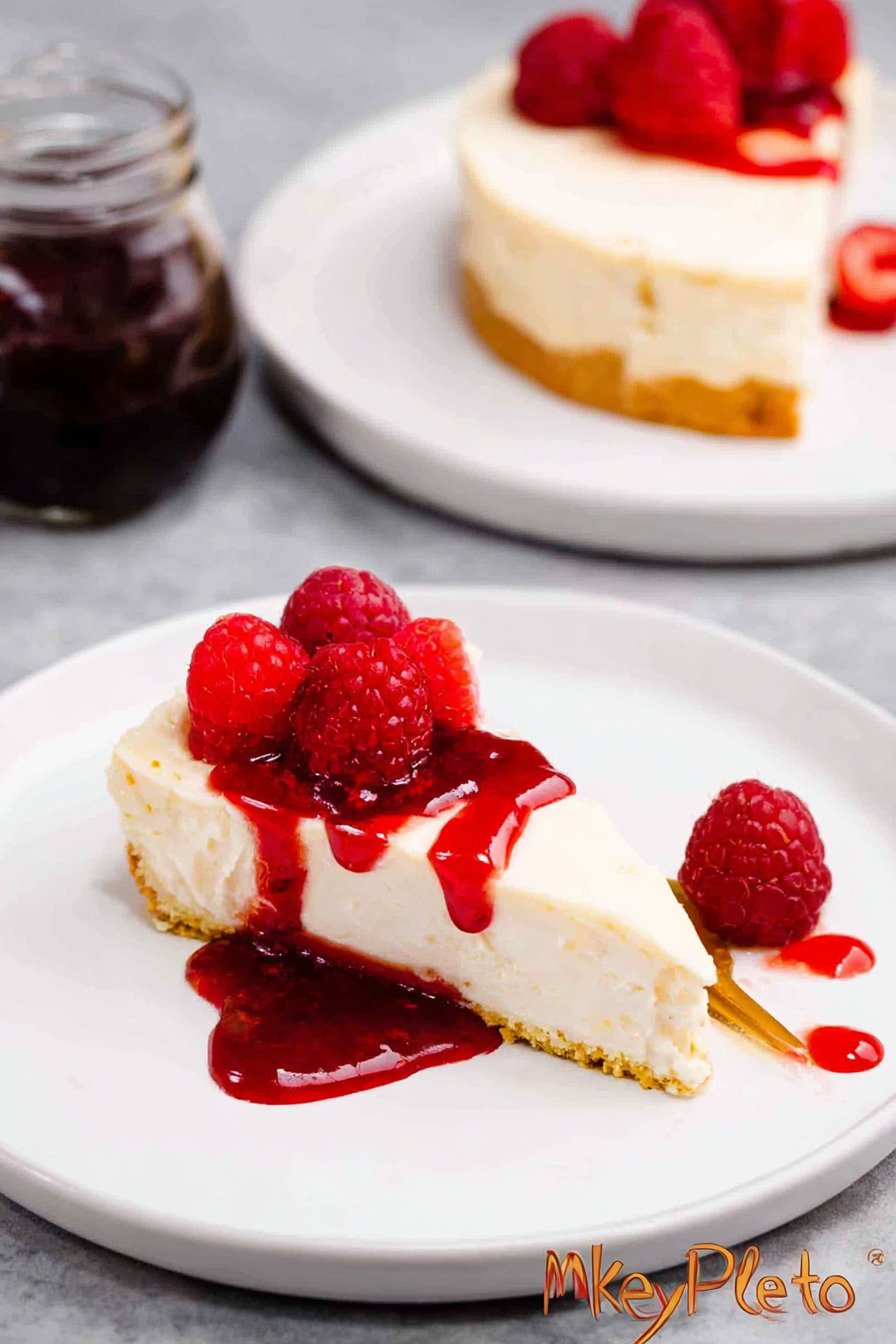
2) Easy No-Bake Keto Cheesecake Recipe
Let me tell you about my favorite cheese cake recipe that changed everything for me. I used to think making cheesecake meant heating up my kitchen for hours, dealing with water baths, and crossing my fingers that cracks wouldn’t appear. Then I discovered this no-bake version, and honestly? I haven’t looked back. This cheese cake recipe is so simple that you’ll wonder why you ever bothered with the oven in the first place.
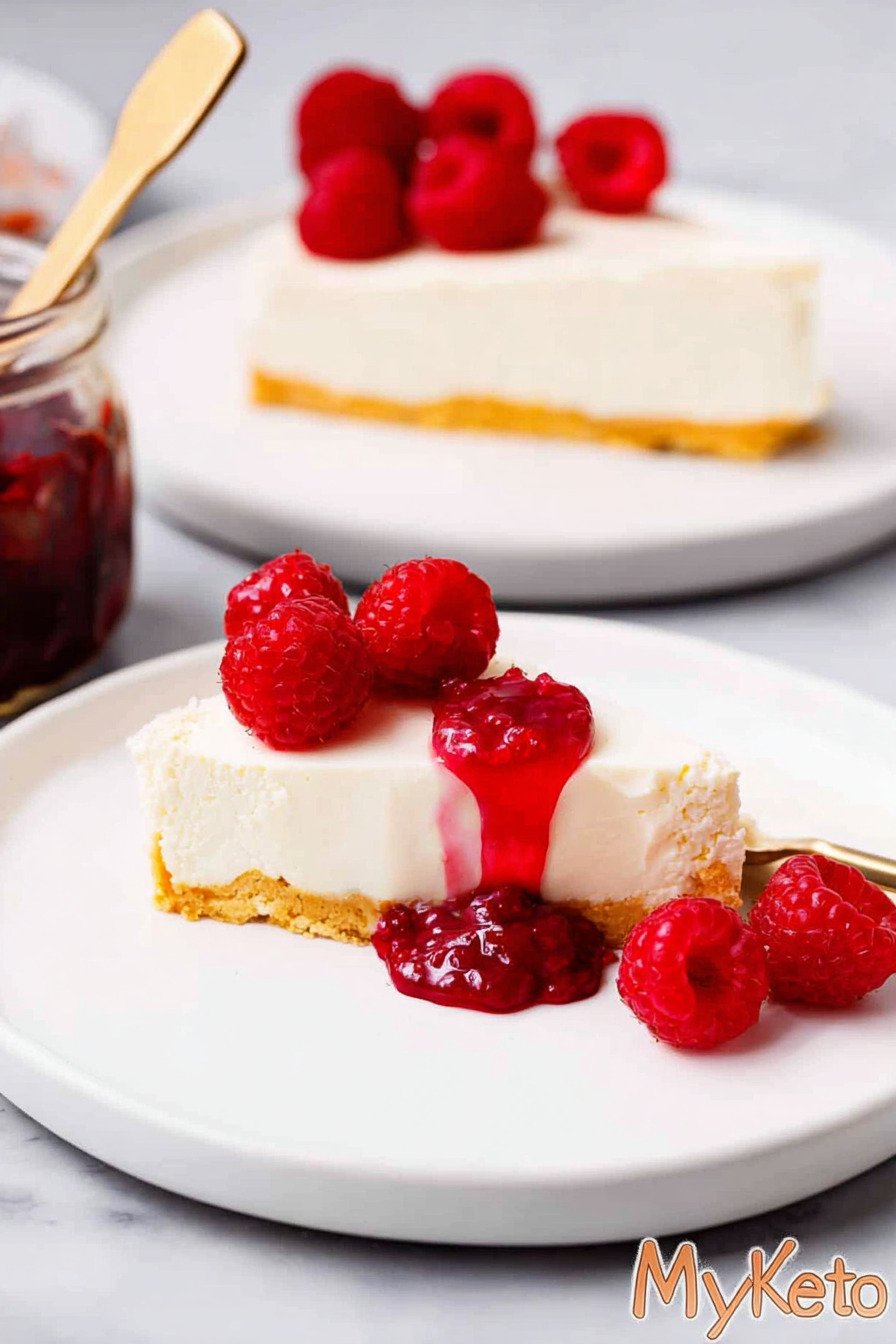
Here’s what makes this recipe so dang good. You get that rich, velvety texture without any of the fuss. No water bath drama. No worrying about oven temperature. No stress about whether it’s done or not. Just mix, chill, and boom – you’ve got yourself a showstopper dessert that tastes like you slaved away all day.
I’ve made this for birthday parties, potlucks, random Tuesday nights when I needed something sweet, and every single time people ask for the recipe. The best part? It’s actually one of those Keto Desserts that non-keto people go crazy for. They can’t even tell it’s low carb. That’s how you know you’ve got a winner.
This fits perfectly into the No-Bake Desserts category, which is my jam during summer when turning on the oven feels like torture. It’s become one of my go-to Almond Flour Desserts since the crust is made with almond flour instead of graham crackers. And if you’re looking for 2 Ingredient Desserts ideas, the crust alone is pretty much just almond flour and butter with a few extras for flavor.
What I love most is how forgiving this recipe is. Forgot to take your cream cheese out early? No problem, just microwave it for a few seconds. Want to make a 6 inch cheesecake recipe instead? Just halve everything and use a smaller pan. Need it to be one of those Low Carb Cheesecake Recipes that won’t mess with your macros? You’re already there.

3) Ingredients for No-Bake Keto Cheesecake
Blanched Almond Flour
Look, not all almond flour is created equal. You want the superfine, blanched stuff for this crust. I learned this the hard way when I tried using regular almond meal once and ended up with a grainy, weird-textured crust. The blanched almond flour gives you that smooth, almost graham cracker-like texture without the carbs. You’ll need 2 cups for this recipe, and trust me, it’s worth buying the good stuff.
Keto-Friendly Sweetener
I’ve tried about a million different sweeteners in this recipe, and here’s what I’ve learned. Powdered works better than granulated for the filling since it dissolves easier. For the crust, either works fine. I usually go with monk fruit or erythritol blend. Stay away from anything that crystallizes in the fridge – you don’t want a gritty cheesecake. You’ll need about 1/4 cup for the crust and 1 cup for the filling.
Melted Butter
This is what holds your crust together and gives it that buttery, rich flavor we all crave. Use unsalted butter so you can control the salt level yourself. You’ll need about 1/3 cup, maybe a splash more if your mixture seems too dry. Room temperature butter won’t work here – it needs to be melted so it can mix properly with the almond flour.
Vanilla Extract
Please, please, please use real vanilla extract and not that imitation stuff. I know it costs more, but the flavor difference is huge. You’ll need 1 teaspoon for the crust and another teaspoon for the filling. This is what gives your cheesecake that bakery-quality flavor that makes people think you’re some kind of dessert wizard.
Salt
Don’t skip the salt! I know it seems weird to add salt to a dessert, but it’s what makes all the other flavors pop. Just 1/4 teaspoon in the crust is perfect. It balances out the sweetness and makes everything taste more complex and interesting.
Cinnamon (Optional)
Okay, so this isn’t required, but I almost always add it. One teaspoon of cinnamon in the crust gives it this warm, cozy flavor that reminds me of fall. Even if you’re making this in July, that little hint of cinnamon makes it taste extra special. Skip it if you’re not a cinnamon person, but give it a try at least once.
Full-Fat Cream Cheese
This is the star of the show, people. You need three 8-ounce blocks, and they absolutely must be full-fat. Don’t even think about using reduced-fat cream cheese – it’ll mess up the texture completely. Make sure it’s at room temperature before you start. Cold cream cheese equals lumpy filling, and nobody wants that. Just set it out on the counter for about an hour before you start.
Sour Cream
This is what gives the filling that classic cheesecake tang. You need 1/4 cup of full-fat sour cream, also at room temperature. I’ve tried making this without sour cream, and it just doesn’t taste the same. It needs that little bit of tanginess to balance the richness of the cream cheese.
Cold Heavy Cream
Here’s where the magic happens. You’ll whip 1 1/4 cups of cold heavy cream until it forms stiff peaks, then fold it into the filling. This is what makes the texture so light and fluffy instead of dense and heavy. Make sure it’s actually cold – straight from the fridge works best.
Fresh Lemon Juice
Just 2 teaspoons of fresh lemon juice brightens up the whole dessert. It won’t make it taste lemony, I promise. It just adds this subtle brightness that keeps the cheesecake from feeling too heavy. Bottled lemon juice works in a pinch, but fresh is always better.
4) How to Make No-Bake Keto Cheesecake
Step 1. Prep Your Pan
Grab your 9-inch springform pan and line the bottom with parchment paper. I just trace the bottom of the pan on parchment, cut it out, and stick it in there. Then give the sides a quick spray with cooking spray or rub them with butter. This makes getting the cheesecake out so much easier later. Trust me, you don’t want to skip this step and then have to wrestle your beautiful cheesecake out of the pan.
Step 2. Make the Crust
Dump your almond flour, melted butter, sweetener, vanilla, salt, and cinnamon (if you’re using it) into a bowl. Mix it all together with a spatula until it looks kind of sandy and starts clumping together when you squeeze it. It should hold together but still be a little crumbly. If it seems too dry, add another tablespoon of melted butter.
Step 3. Press the Crust Into the Pan
Pour that crust mixture into your prepared pan and start pressing it down with your fingers. Get it nice and even across the bottom. I like to use the bottom of a measuring cup to really pack it down and smooth it out. You want it firm and compact so it doesn’t fall apart when you cut slices later. Pop it in the fridge while you make the filling.
Step 4. Beat the Cream Cheese and Sour Cream
In a big mixing bowl, throw in your softened cream cheese and sour cream. Use an electric mixer to beat them together for about 30 seconds. You want them smooth and creamy with no lumps. If you see any chunks, keep mixing. This is where room temperature ingredients really matter – cold cream cheese will leave you with lumps no matter how long you mix.
Step 5. Add the Sweetener and Flavorings
Add your powdered sweetener, lemon juice, and vanilla extract to the bowl. Keep mixing for about 3 minutes. The sweetener needs time to dissolve completely. Taste it at this point – if you want it sweeter, now’s the time to add more. Remember it’ll taste less sweet once you add the whipped cream, so make it a tiny bit sweeter than you think it should be.
Step 6. Whip the Heavy Cream
In a separate bowl, pour in your cold heavy cream. Use an electric mixer to whip it until you get stiff peaks. This usually takes about 4 to 5 minutes. You’ll know it’s ready when you can turn the beaters upside down and the cream stands straight up without drooping. Don’t overbeat it though, or you’ll end up with butter.
Step 7. Fold Everything Together
Here’s where you need to be gentle. Take that beautiful whipped cream and fold it into your cream cheese mixture using a spatula. Don’t stir or mix – actually fold it by scooping from the bottom and turning it over the top. You want to keep all that air you just whipped into the cream. Keep folding until you don’t see any white streaks anymore.
Step 8. Assemble and Chill
Pour your filling over that chilled crust and smooth out the top with your spatula. Get it as even as you can. Cover the whole thing tightly with plastic wrap and stick it in the fridge. Now comes the hard part – waiting. You need to let this chill for at least 6 hours, but overnight is even better. I know it’s torture, but the wait is worth it.
Step 9. Remove and Serve
When you’re ready to serve, run a knife around the edge of the pan to loosen the cheesecake. Then pop open that springform and carefully remove the ring. Use a sharp knife to cut slices, wiping it clean between each cut for nice, clean edges. Top with whatever makes your heart happy – berries, sugar-free caramel, chocolate sauce, or just eat it plain. It’s perfect any way you slice it.
5) Tips for Making No-Bake Keto Cheesecake
Room temperature is your friend here. I can’t stress this enough – your cream cheese and sour cream need to be soft. Not melted, just soft. If you forget to take them out ahead of time, microwave each block of cream cheese for about 10 seconds. Check it, then do another 10 seconds if needed. You want it soft enough that you can easily press your finger into it.
Whip that cream properly. When you’re beating the heavy cream, make sure your bowl and beaters are cold. I stick mine in the freezer for 10 minutes before I start. The cream needs to be cold too – straight from the fridge works best. Beat it until you get stiff peaks, which means when you lift the beaters, the cream stands straight up without flopping over.
Fold, don’t stir. When you’re adding the whipped cream to the cream cheese mixture, use a folding motion instead of stirring. Scrape down the sides and bottom of the bowl, then lift and turn the mixture over itself. You worked hard to get air into that cream, so don’t knock it all out by stirring vigorously. Take your time with this step.
Patience pays off. I know waiting 6 hours feels like forever, but don’t try to speed things up by sticking it in the freezer. I tried that once and the texture got all weird and icy. Just let it chill in the fridge overnight if you can. The flavors get better with time, and the texture sets up perfectly.
Test your sweetener first. Different keto sweeteners have different levels of sweetness. Before you add all the sweetener to your filling, taste it as you go. Some brands are sweeter than others, and you might need more or less depending on what you’re using. Start with 3/4 cup, taste it, then add more if needed.
Clean cuts matter. When you’re ready to slice your cheesecake dessert creation, use a sharp knife and wipe it clean with a damp towel between each cut. This gives you those beautiful, clean slices that look like they came from a fancy bakery. If you don’t wipe the knife, you’ll end up dragging filling from one slice to the next and it’ll look messy.
6) Making No-Bake Keto Cheesecake Ahead of Time
This is hands down one of the best make-ahead desserts I know. I actually think it tastes better the next day after all the flavors have had time to hang out and get to know each other. You can make this up to 3 days before you need it, and it’ll be perfect.
If you’re planning ahead, make the whole thing – crust and filling – and let it set up in the fridge overnight. Then cover it tightly with plastic wrap, making sure the wrap is actually touching the surface of the cheesecake. This keeps it from absorbing any weird fridge smells and prevents it from drying out on top.
Want to make it even further ahead? You can freeze this thing. Seriously. Make it, let it set up completely, then wrap it in plastic wrap and then aluminum foil. Stick it in the freezer for up to 2 months. When you’re ready to serve it, move it to the fridge the night before and let it thaw slowly. It’ll taste just as good as fresh.
One pro tip I learned the hard way – if you’re making this for a party or event, don’t add any toppings until right before you serve. Berries and sauces can make the top watery if they sit too long. Keep your toppings separate and add them at the last minute for the best presentation.
The crust stays crispy even after a few days in the fridge, which is pretty amazing. Some no-bake crusts get soggy, but the almond flour crust holds up like a champ. That’s another reason why this recipe is so perfect for making ahead – no last-minute stress about soggy bottoms.
7) Storing Leftover No-Bake Keto Cheesecake
Good news – this cheesecake lasts for ages in the fridge. Well, not ages, but up to 5 days in an airtight container. I like to cut the whole thing into slices and wrap each slice individually in plastic wrap. Then I stack them in a container. This way I can grab a slice whenever I want without having to cut into it every time.
If you leave it whole in the pan, just cover the top tightly with plastic wrap. Make sure the wrap is actually touching the surface of the cheesecake. This keeps it from drying out or absorbing any funky fridge odors. Nobody wants their cheesecake tasting like last night’s leftovers.
For longer storage, freeze it. Cut it into slices first, wrap each slice in plastic wrap, then put them all in a freezer bag. Label it with the date so you remember when you made it. Frozen slices are perfect for those moments when you need dessert RIGHT NOW. Just pull one out and let it sit at room temperature for about 20 minutes.
When you’re ready to eat a frozen slice, you can either let it thaw in the fridge overnight or leave it on the counter for 30 minutes to an hour. I actually love eating it when it’s still a little frozen – it’s like cheesecake ice cream. Try it both ways and see what you prefer.
One thing I’ve noticed is that the texture stays perfect even after freezing and thawing. Some cheesecakes get watery or grainy after being frozen, but this one comes back just as creamy and smooth as the day you made it. That’s the beauty of a well-made low carb dessert.
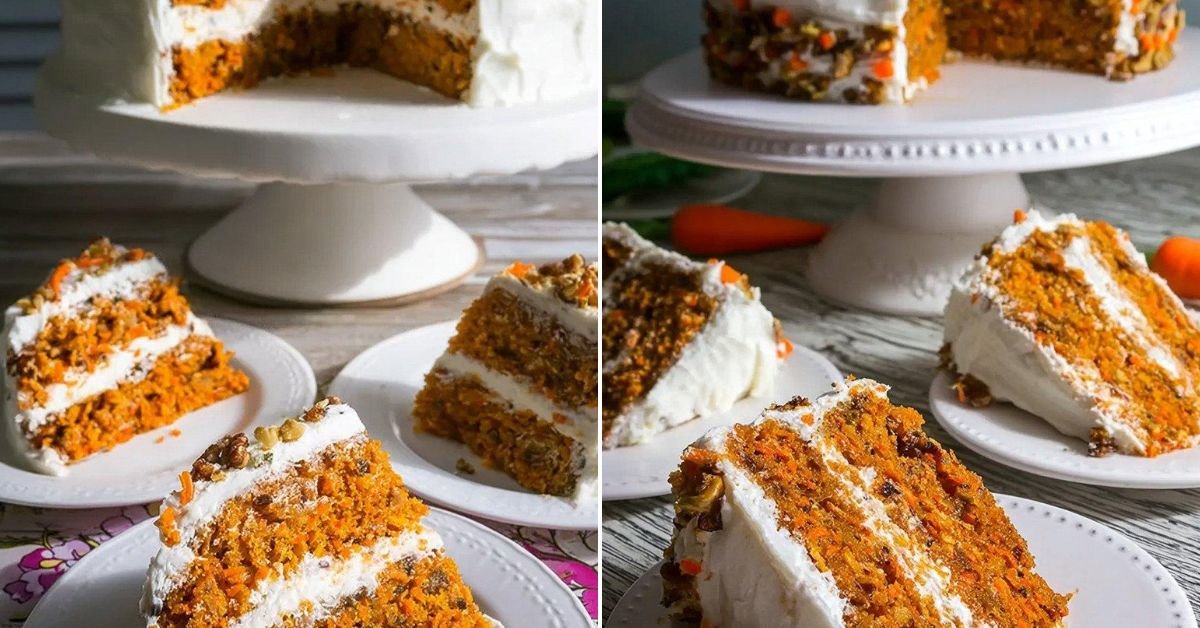
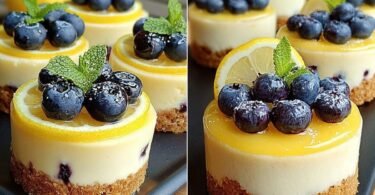
8) Try these Desserts next!


9) No-Bake Keto Cheesecake

No-Bake Cheese Cake Recipe (Keto & Low Carb)
Ingredients
For the Crust
- 2 cups blanched almond flour (superfine works best)
- 1/4 cup keto-friendly sweetener (granulated or powdered)
- 1/3 cup melted butter (add a splash more if it seems dry)
- 1 teaspoon vanilla extract
- 1/4 teaspoon salt
- 1 teaspoon cinnamon (totally optional, but it’s really good)
For the Filling
- 1 1/4 cups cold heavy cream
- 24 oz cream cheese (that’s three 8-ounce blocks, softened to room temp)
- 1/4 cup sour cream (full-fat, please)
- 2 teaspoons fresh lemon juice
- 1 cup powdered keto sweetener
- 1 teaspoon vanilla extract
Instructions
Make the Crust
- Grab your 9-inch springform pan and line the bottom with parchment paper. Give the sides a quick grease too.
- Toss the almond flour, melted butter, sweetener, vanilla, and salt into a bowl. Mix it up with a spatula until it looks kinda sandy. Don’t overthink it.
- Dump that mixture into your pan and press it down firmly with your fingers or the back of a spoon. Make sure you get it nice and even.
- Pop it in the fridge while you make the filling. This gives it time to firm up a bit.
Whip Up the Filling
- Get your electric mixer out (trust me, don’t try doing this by hand). Beat the softened cream cheese and sour cream together for about 30 seconds until they’re all smooth and friendly with each other.
- Add the powdered sweetener, lemon juice, and vanilla. Keep mixing for about 3 minutes. The sweetener needs time to dissolve, and you want this thing silky smooth.
- In a separate bowl, whip that cold heavy cream until you get stiff peaks. This usually takes 4-5 minutes. Your arm might get tired, but it’s worth it.
- Here’s the gentle part – fold the whipped cream into your cream cheese mixture using a spatula. Be nice about it. You’re not stirring, you’re folding. There’s a difference.
- Pour this gorgeous filling over your chilled crust and smooth out the top with your spatula.
Set It & Forget It
- Cover the whole thing tightly with plastic wrap and stick it in the fridge for at least 6 hours. Overnight is even better if you can wait that long.
- When you’re ready to serve, run a knife around the edge to loosen it from the pan, then pop off that springform rim.
- Cut yourself a slice with a clean, sharp knife. Top it with whatever makes you happy – berries, sugar-free caramel, whatever floats your boat.
10) Nutrition
Serving Size: 1/14 of cheesecake | Calories: 345 | Sugar: 3 g | Sodium: 180 mg | Fat: 33 g | Saturated Fat: 18 g | Carbohydrates: 7 g | Fiber: 2 g | Protein: 7 g | Cholesterol: 95 mg


Leave a Comment